
AeroPress coffee makers are piston-style brewing devices that come a filter section, a main chamber, and a rubber-tipped plunger. An AeroPress is similar to a French Press in that ground coffee beans are soaked in water and then filtered out. But while coarsely-ground beans are optimal for the French Press, AeroPresses work best with fine to medium-fine coffee grounds. The brew times between the two methods also differ, and with an AeroPress, you get a different extraction of flavors due to the high pressures exerted on the coffee-infused liquid when the plunger is forced through the chamber. Additionally, because the micro-filters on AeroPress devices seal up nice and tight, the resulting coffee is free from grit and ground particulates. Using an AeroPress coffee maker is easy once you know the basics, but there are a few key parts of the process that are vital for a quality and consistent brew!
If you can help it, you’re going to want to use freshly-roasted whole beans with an AeroPress. As far as Wander beans go, the Nightsky and Wilder blends are both excellent choices, and so too are single origins.
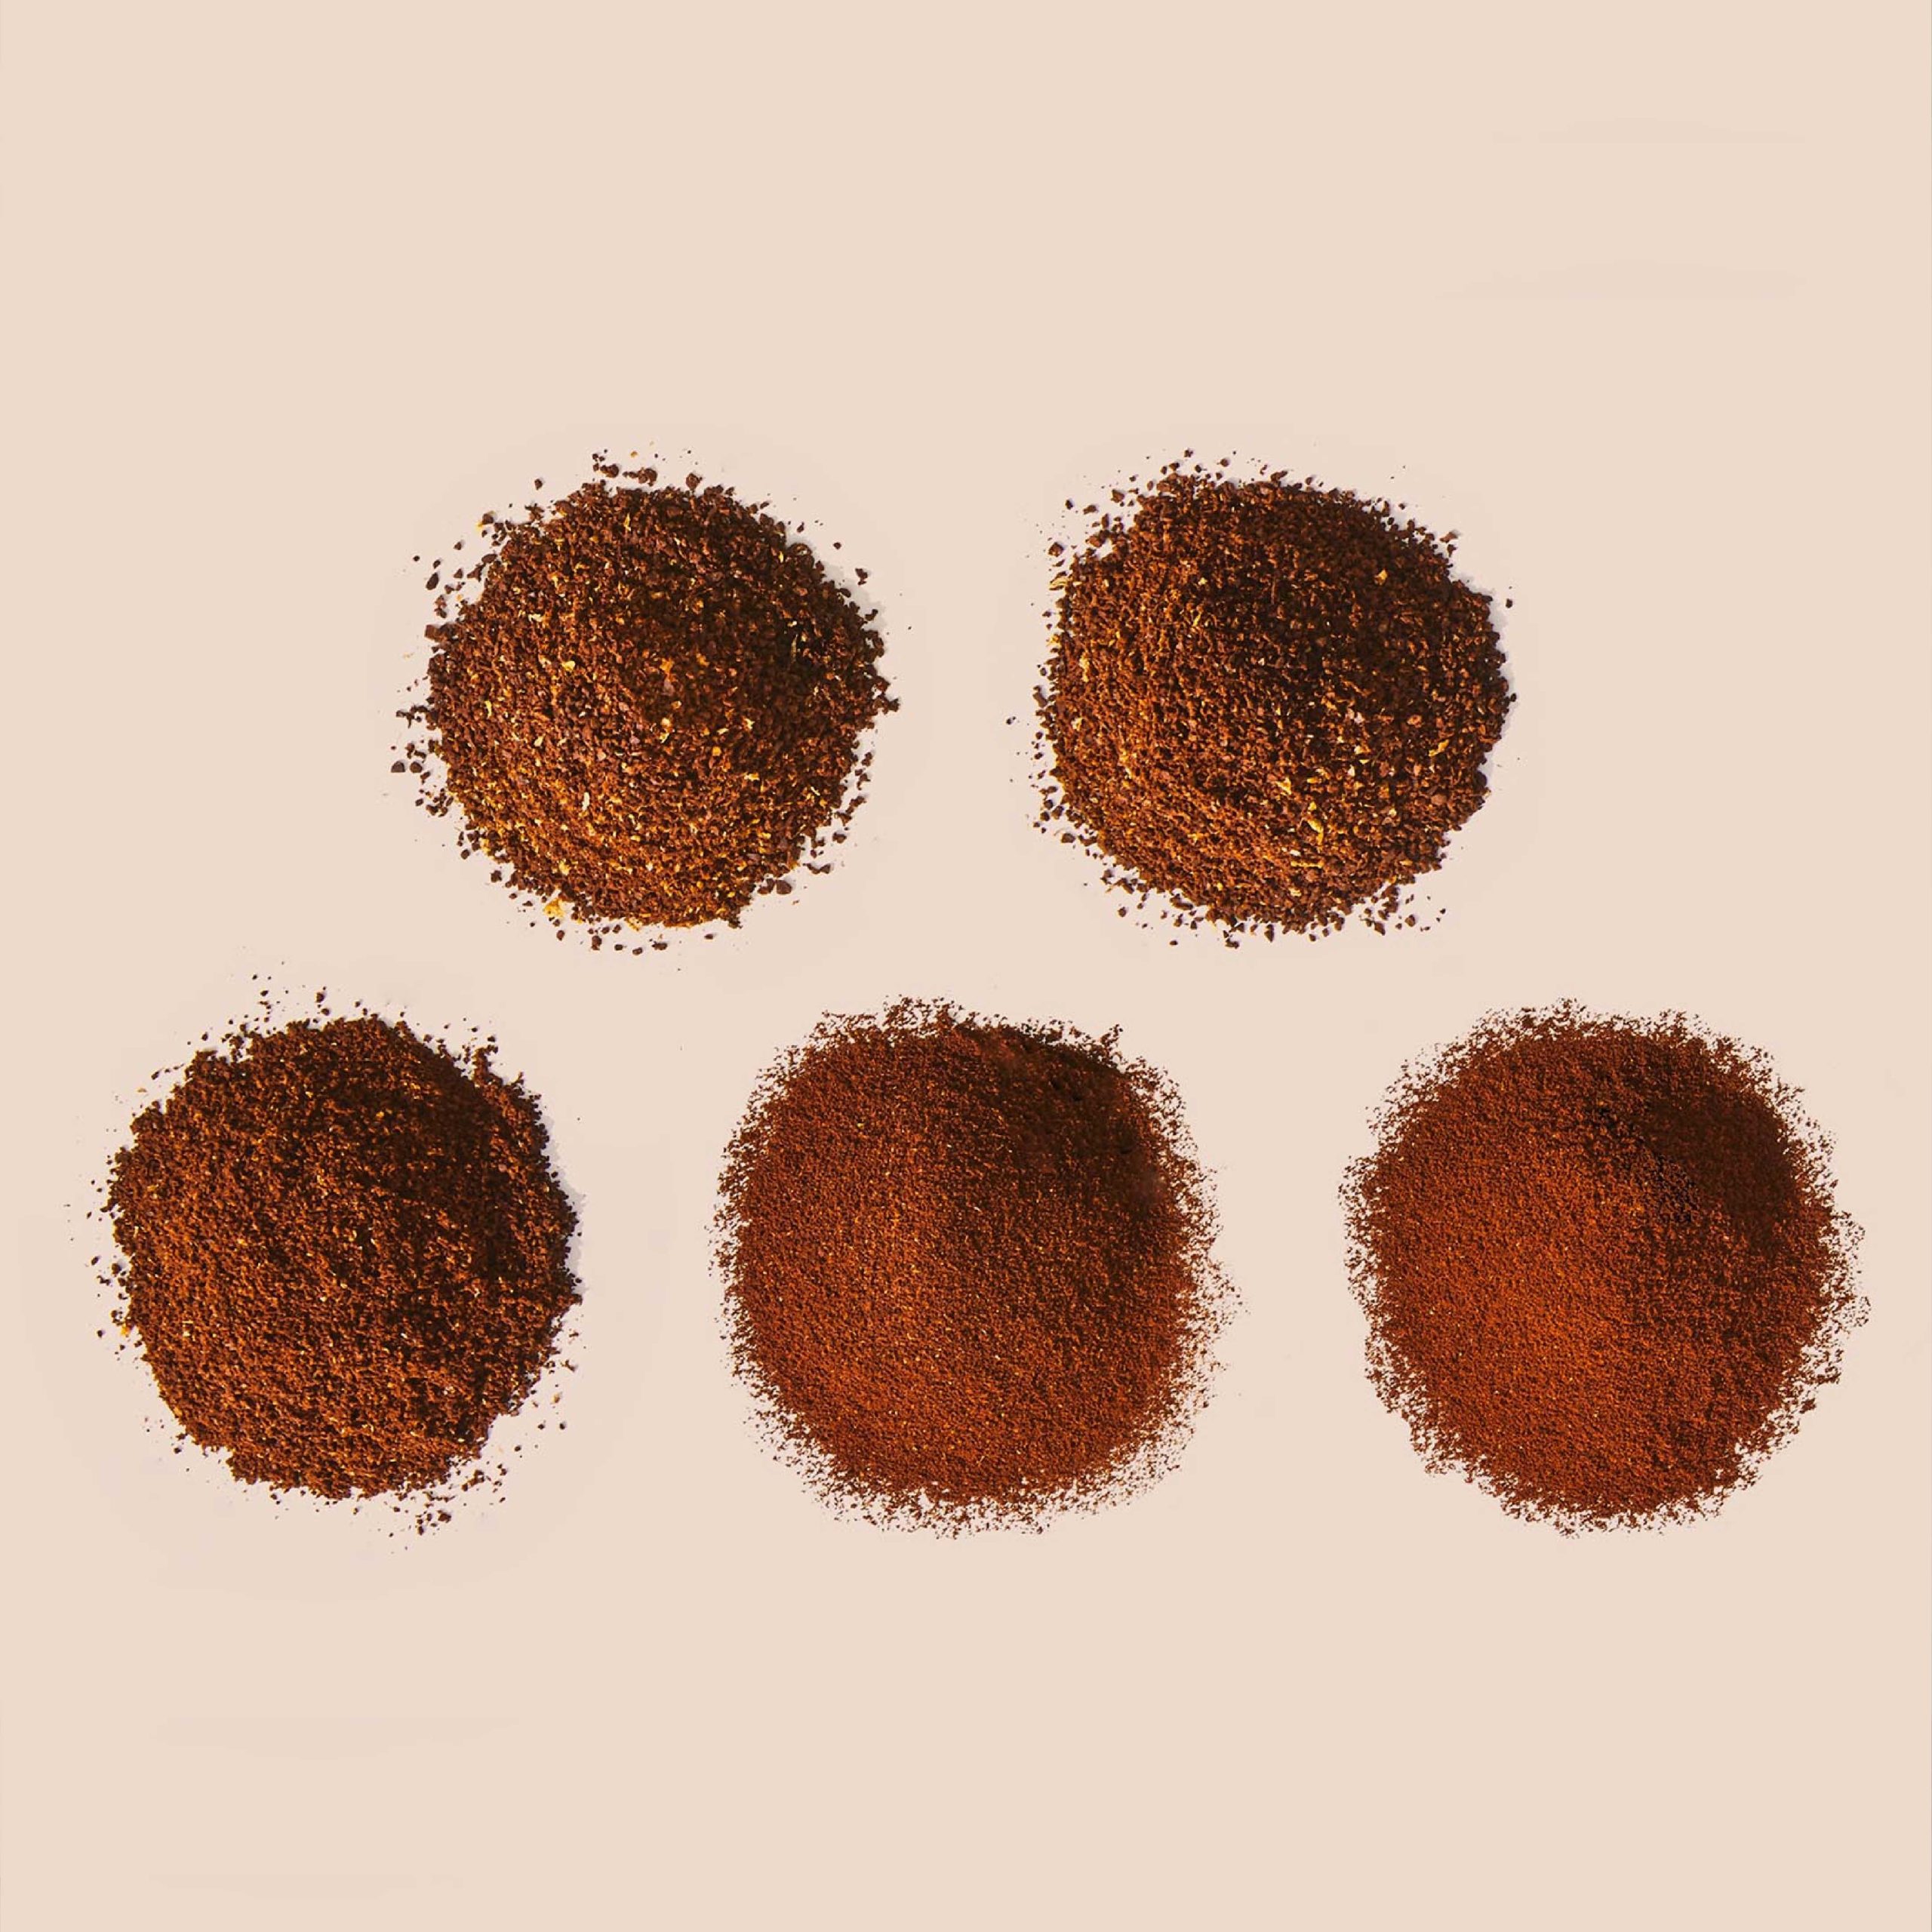
The Best Grind For An AeroPress
Because of the filter, you can go pretty fine with your AeroPress grind without ending up with a muddy concoction full of coffee specs. Aside from the texture of your dink, grind size will also affects the taste of your drink. The finer your grind is, the more the surface area it’ll have, and the greater the surface area, the more contact there’ll be between the coffee grounds and the hot water. A finer grind will release more flavors and bolder aromas, but if you go too fine, you might find that it’s quite difficult to press the plunger down fully.
We recommend using a fine to medium-fine grind with an AeroPress, and this will be contingent on your brew time. If you’re going longer with your brew (grease than 60 seconds) we’d suggest a coarser grind. If, on the other hand, you’re brewing for only 30 seconds or so, a finer grind will work splendidly!
Coffee-To-Water Ratio For An AeroPress
Many coffee drinkers assume falsely that amazing coffee is brewed with boiling-hot water. This, however, is far from true. In fact, brewing coffee with piping-hot water can actually draw out bitter off notes and unpleasant / pungent flavors (especially when using inferior beans). Nevertheless, brewing with water that’s too cold will bring out sour flavors, and even worse, watered-down or downright flavorless coffee. While there are methods for cold coffee extraction for those who like cold brew, this is achieved with a longer stir time and a finer grind to compensate for the lack of heat.
We recommend a water temperature of 175°F (80°C) for the AeroPress, but you can go a few degrees higher if you fancy a little more extraction.
1. Measure 16 grams or 2.5 tablespoons of beans.
2. Grind on a fairly fine setting, between a V60 and espresso.
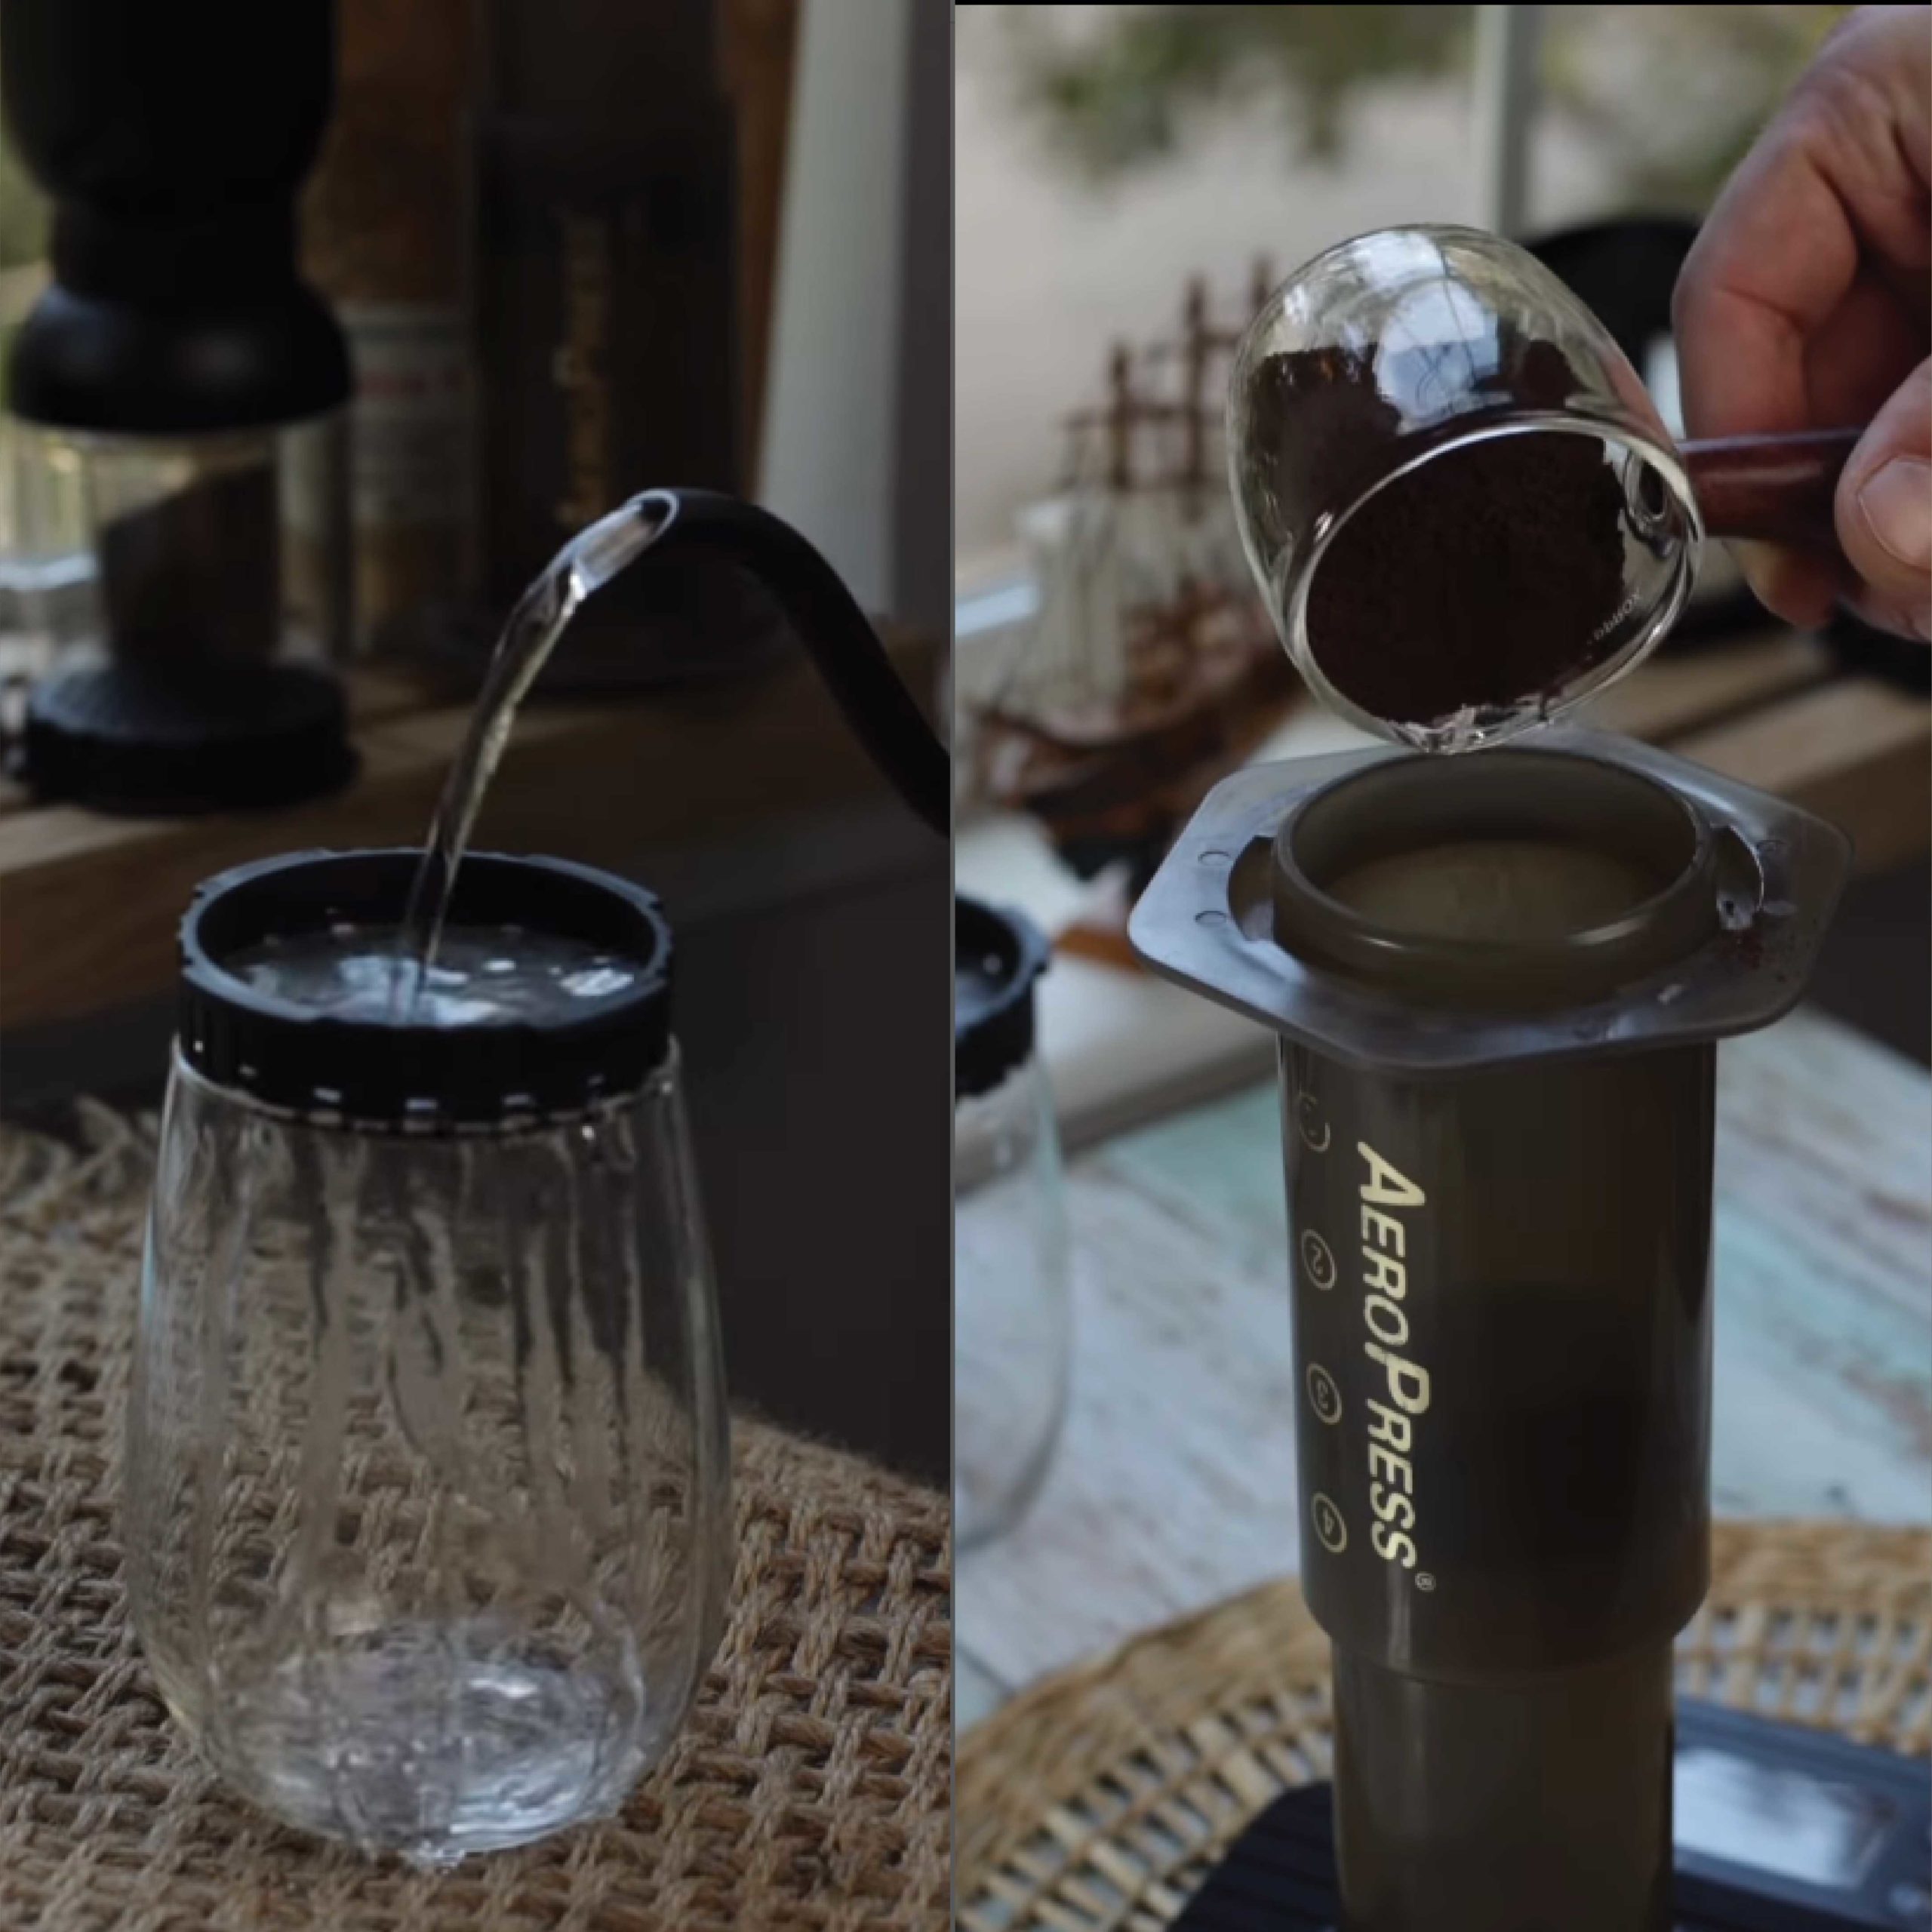
3. Place paper filter and pour water through without grounds.
4. Discard water and add grounds.
5. Pour boiling water onto grounds to the top of the AeroPress and stir.
6. Stir again after approximately one minute and thirty seconds.
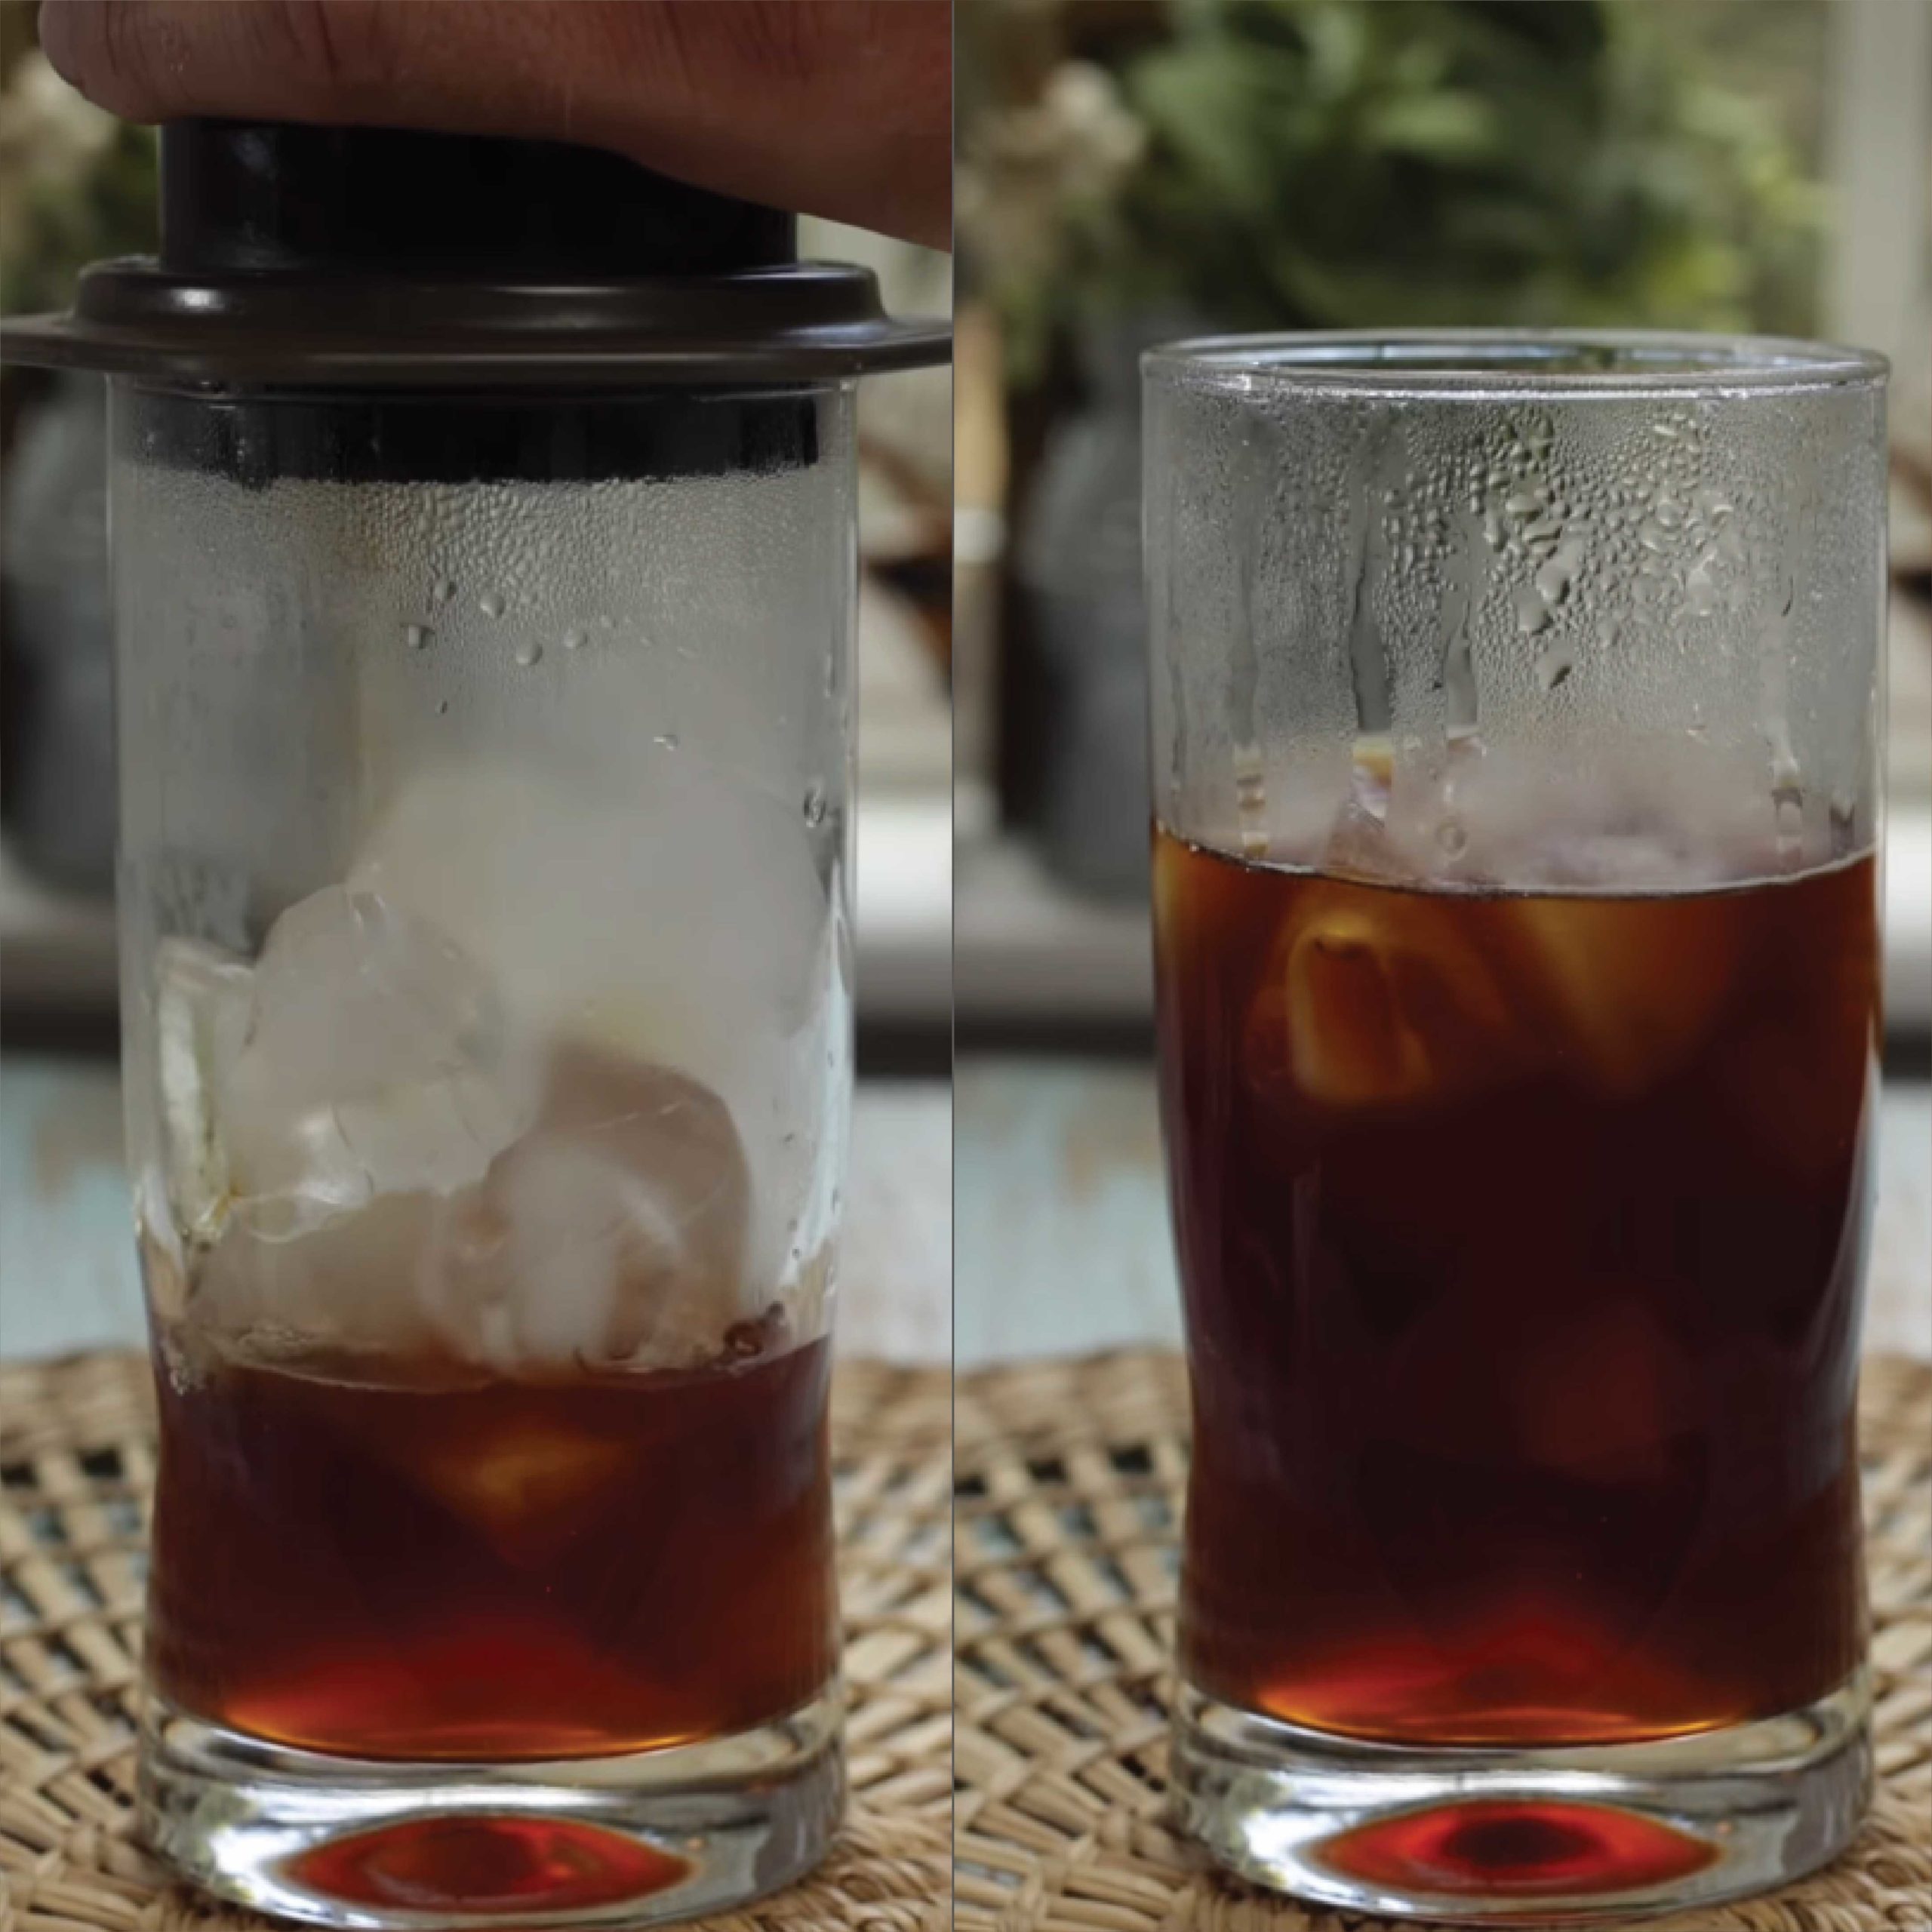
7. Place the plunger and press down until you hear a hissing noise.
8. Serve and enjoy!


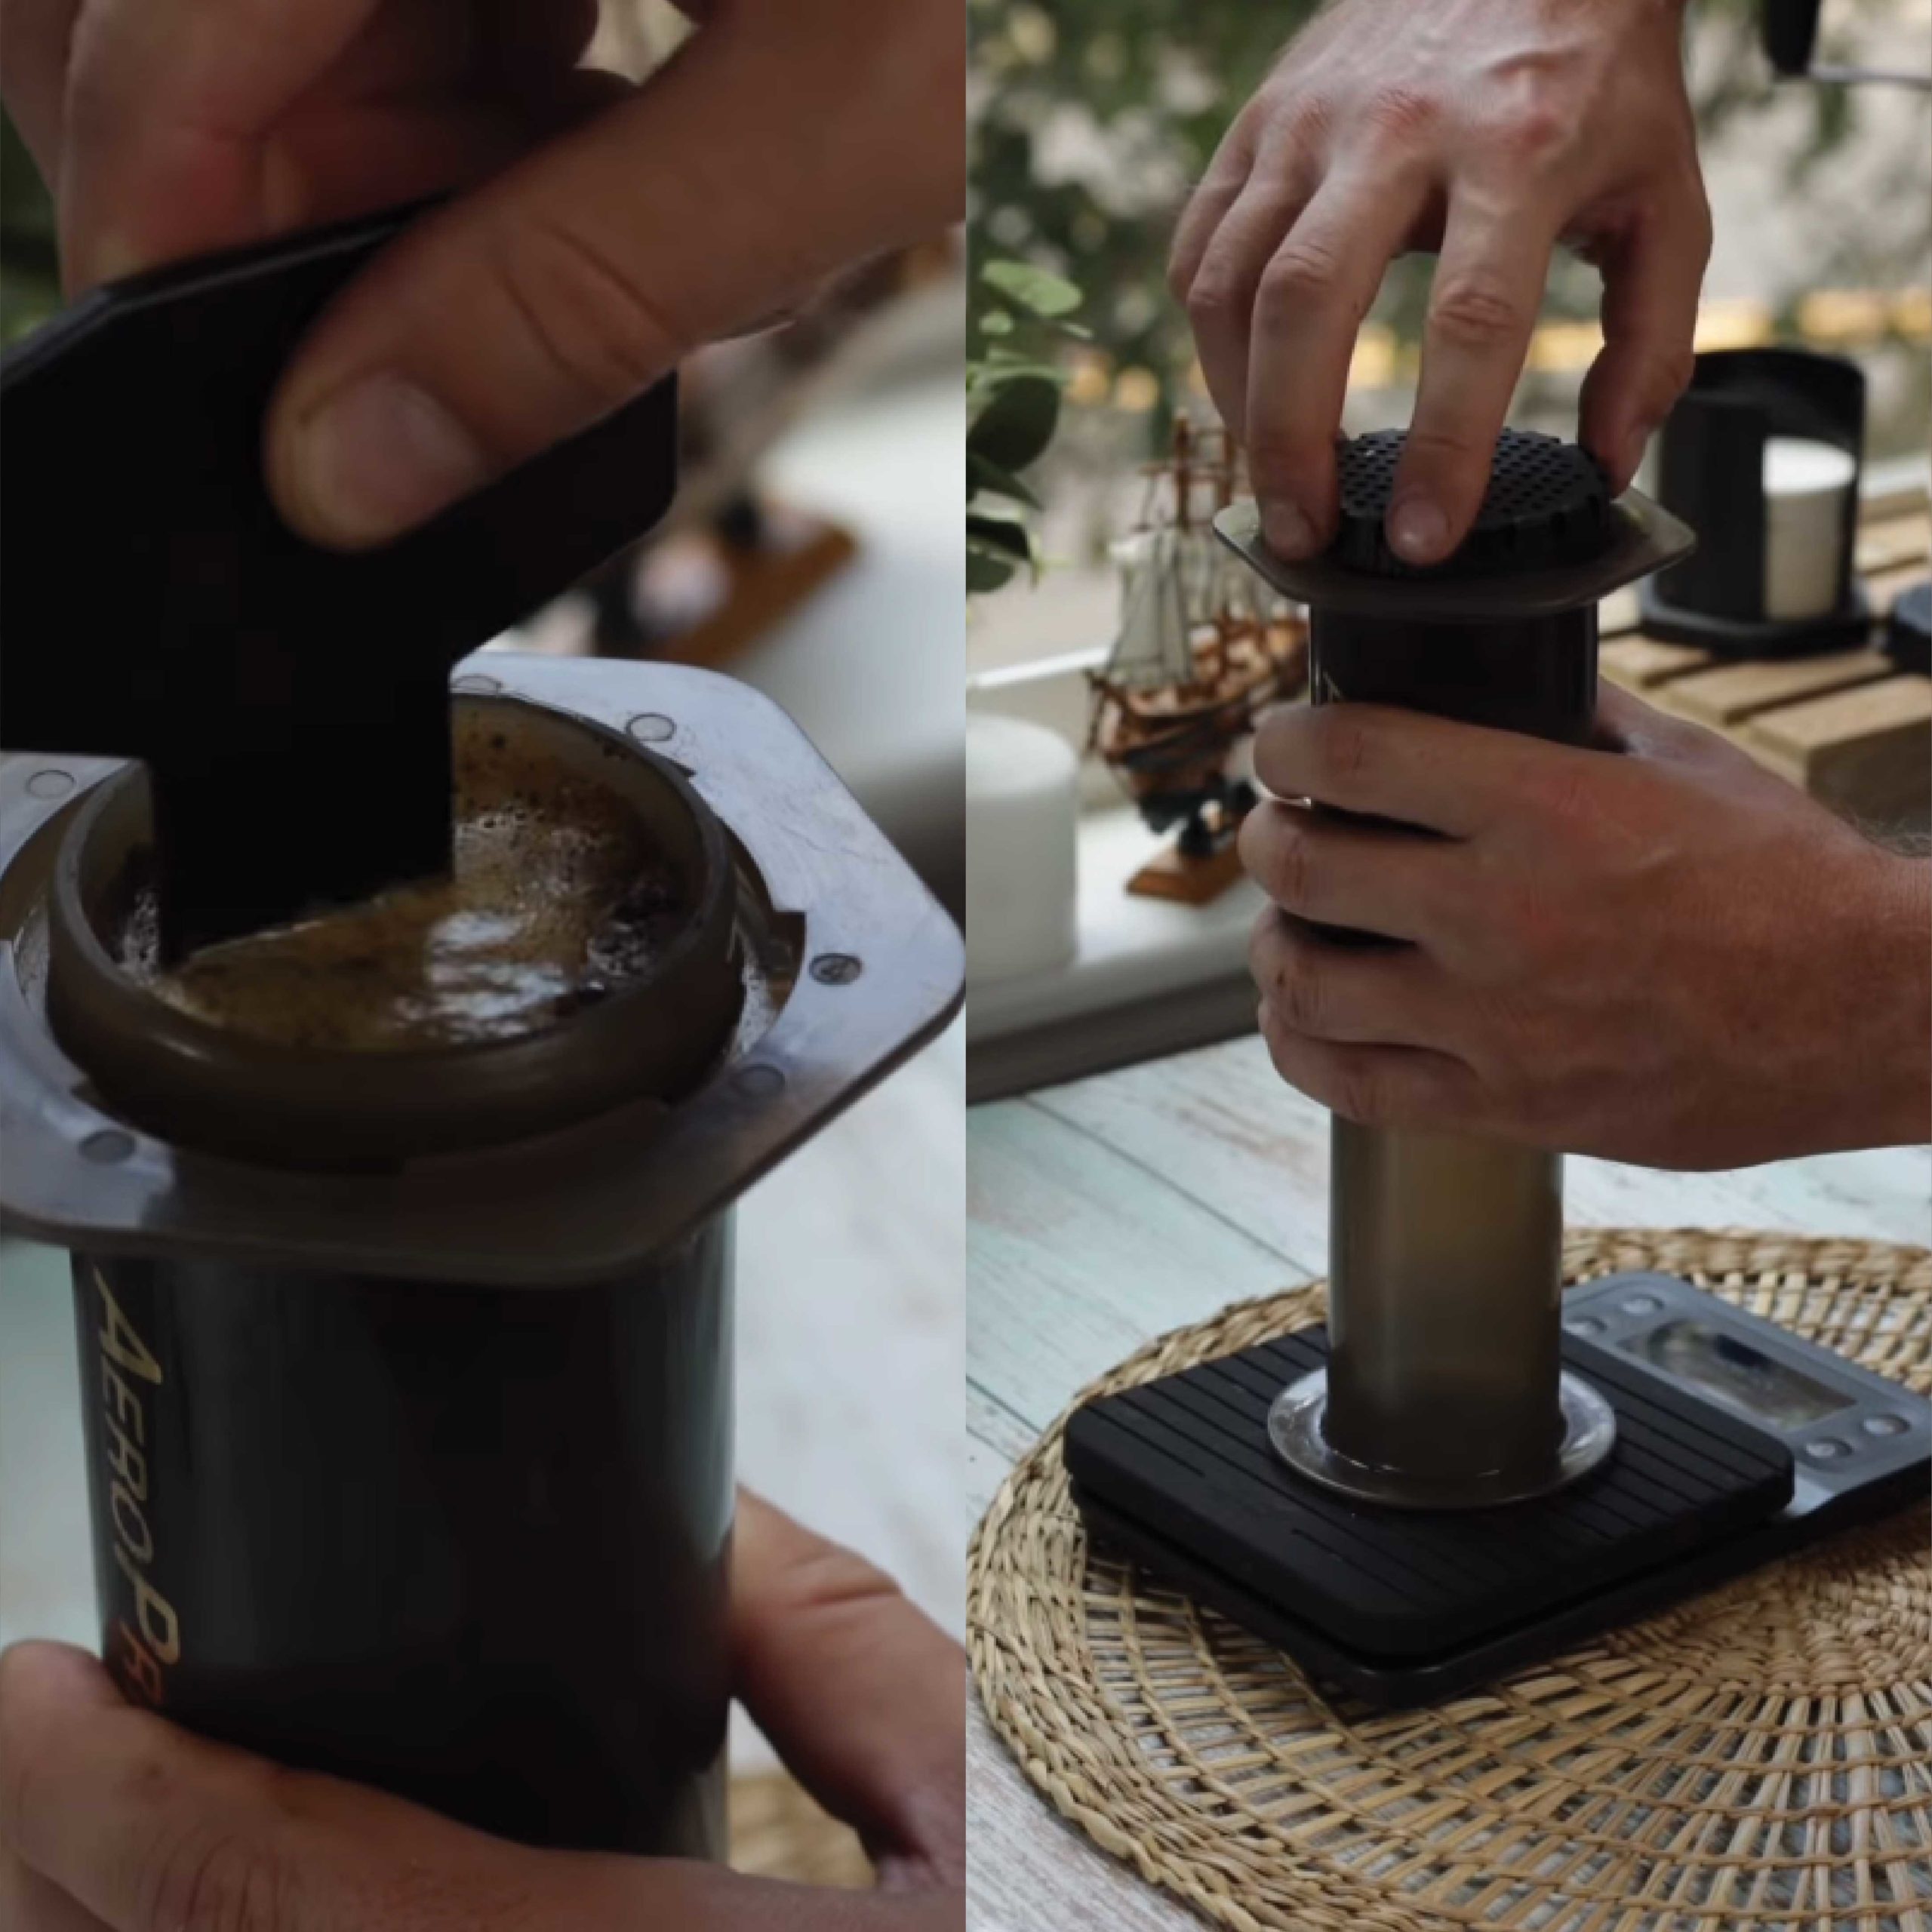
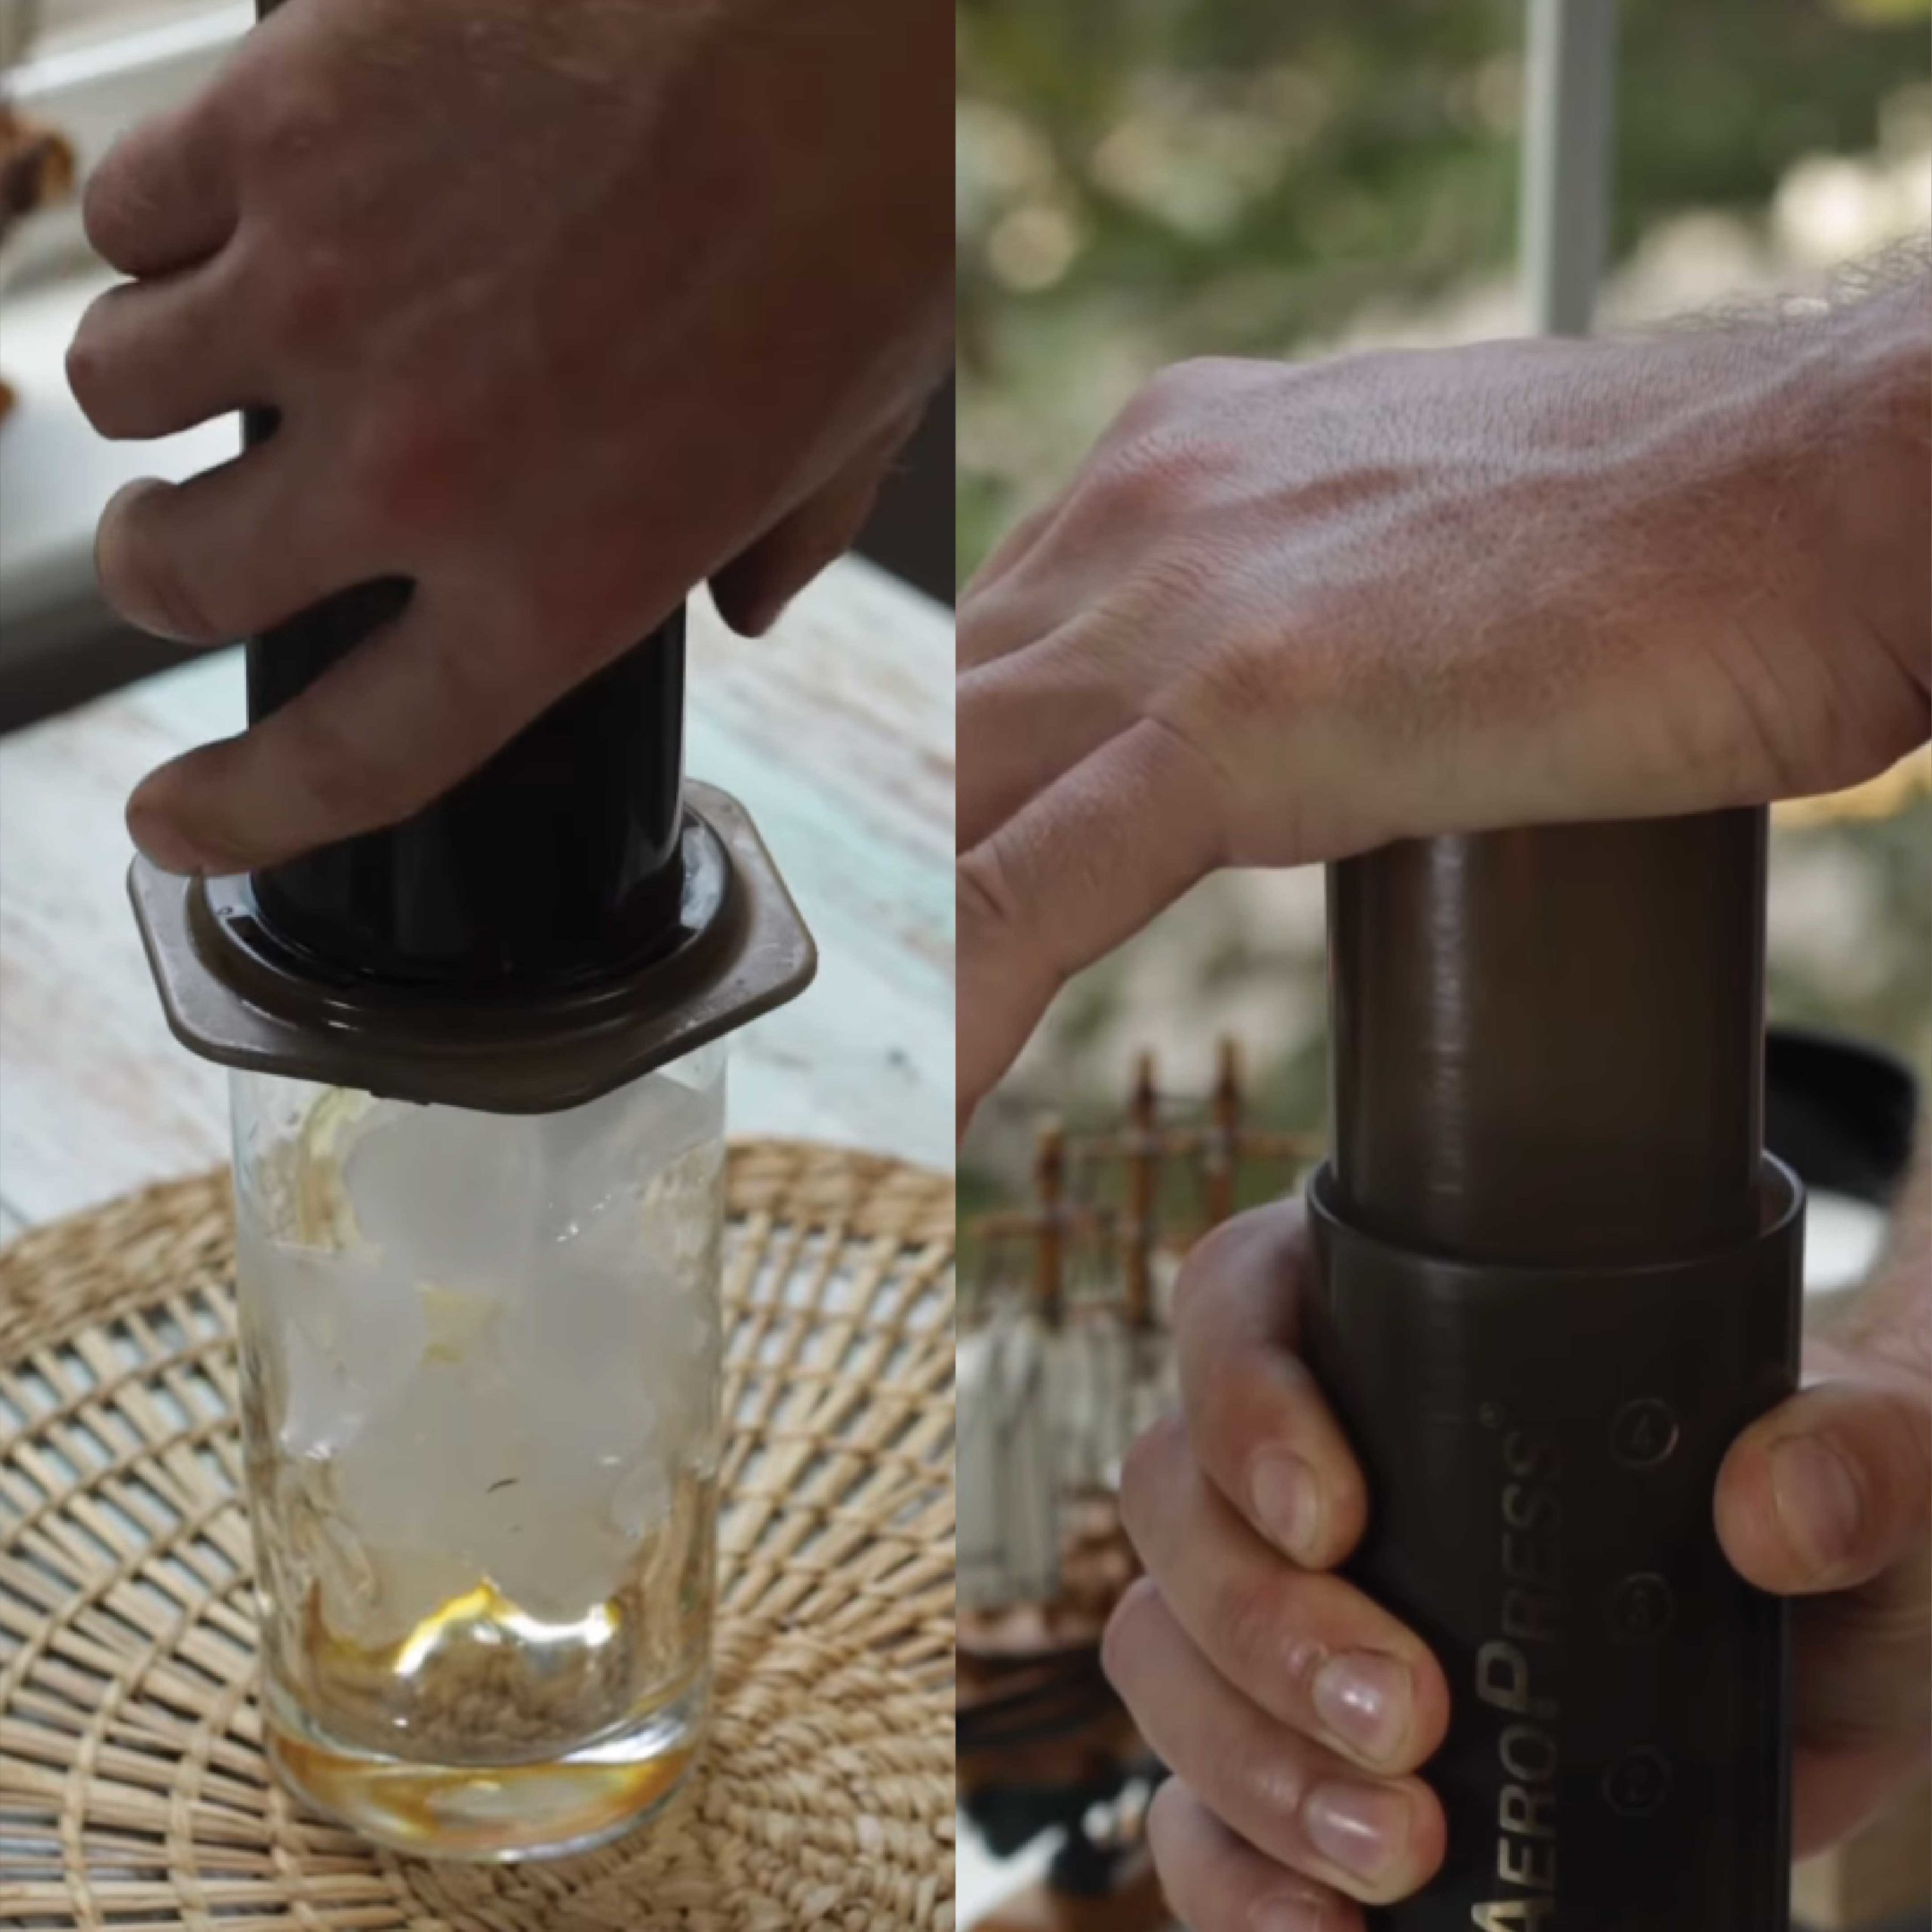
When brewing with your AeroPress coffee press, brute force isn’t the best solution. On the contrary, the less pressure you apply when pressing down on the plunger, the faster and easier it goes down. Jamming down on the plunger instantaneously will cause the floating coffee grounds to be pressed and compacted at the bottom of the chamber. This will then make it hard for the water to flow through. Rather than relying on force, start by pressing the plunger down by an inch, holding it in place for a few seconds and letting the pressure of the chamber do its thing. Wait a few more seconds and then press down another inch, repeating this step until you hear a nice popping sound from your AeroPress which tells you that you’re done.
Finding the right brew time to fit your taste is a delicate balance. A brew time that’s too long will result in bitter / burnt tasting coffee, while a brew time that’s too short can yield a watered-down cup with acerbic undertones.
We recommend giving the water / ground mixture a slight stir before initiating the pressing sequence.
Aside from the traditional AeroPress method, you also have the AeroPress Inverted method. By brewing in an upside-down AeroPress, there’ll be no water drip through and you can achieve much longer brew times. Although it’s a bit more technical than the standard protocol, the inverted AeroPress technique grants users more discretion over factors such as water-to-coffee ratios and steep times.
Conduct the inverted AeroPress method by first sticking the plunger an inch into chamber, then flip everything upside down so that the opening is facing upwards. Next, add an appropriate amount of ground Wander Coffee beans to the chamber, pour in hot water, and stir gently. While you’re waiting for the coffee to brew, place a wet filter inside the filter cap and screw it into place. Once you’ve hit your desired brew time, quickly flip the AeroPress over on top of a cup / mug and begin to press the mixture through while trying to avoid any spillage!